Best G-Helper Settings for Battery Life on ASUS Laptops (2026 Guide)
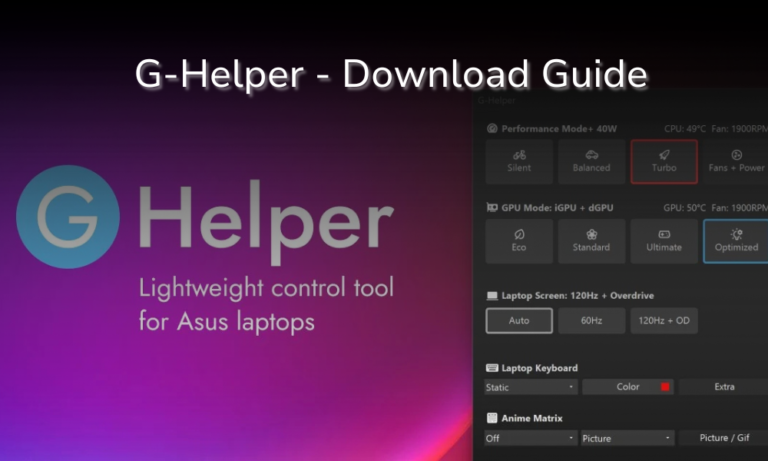
ASUS laptops have notoriously bad battery life – my ASUS G16 Zephyrus could only last for about 3 hours of light web browsing when I first got it. After downloading G-Helper and tweaking the battery life settings, I now get a comfortable 7+ hours of browsing, with only around 13W of discharge. This guide will go through each aspect of G-Helper that pushed my battery life further, starting from simple battery modes, and touching on topics like fan profiles and undervolting. If you haven’t installed G-Helper yet, start with our complete G-Helper setup guide before working through the battery life settings.
Why G-Helper beats Armoury Crate for battery life
If you’re still using ASUS pre-installed Armoury Crate for your battery profiles and laptop settings, there are a few reasons you might consider switching. Although Armoury Crate provides the barebones for laptop customization, it gives it to you in a clunky and confusing format, feeling unintuitive for its minimal usage. G-Helper’s simple layout allows you to switch your laptop’s settings on the go, while also including the real heavy hitters for maintaining extended battery life. Things like being able to choose specific fan profiles and undervolt your CPU are things that made the switch completely worth it for me. If you’re still on the fence about switching over, you can check out my G-Helper vs Armoury Crate debate, where I decide a clear winner.
The single biggest setting – CPU Boost behavior
When using your laptop for basic things like browsing or work/school, your CPU will be the main processor doing all the heavy lifting. For this reason, G-Helper provides a variety of CPU boost types, which essentially divert more power to your CPU, boosting its power and clock speeds. Now this does make for a stronger system, but at the cost of your battery life.

Which one to choose?
Clicking on the left of your Fans + Power section, you’ll see each CPU Boost mode available. Skip past the variety of modes and settle for the “Efficient at Guaranteed”. This mode will prevent any wasteful boosting on light loads, only ever increasing it if you really need the power. This setting itself can drop your idle wattage by 30-40%.
Undervolting (the other big win)
Undervolting is the lowering of wattage that goes to your CPU. You might be wondering – is it as simple as it sounds? The answer is yes, but with a caveat. This setting can lead to glitching or crashing of your computer if pushed too far, so make sure to stay within the save range I’ll lay out. If you want the details on why Undervolting is so effective, as well as how to see what your CPU can safely handle, check out my Step-by-Step Undervolting Guide for the deep dive.

Where to Undervolt
Clicking into the same Fans+Profiles menu as before, navigate to the “advanced” settings to find your undervolting setting. As seen on the right, I have mine set to -25mV which I tested to be the most efficient for my CPU. If you’re just looking for a quick but safe bump, lower yours to -15mV to get that extra battery life.
Display settings that drain your battery
Your display also tends to drain a lot of battery over time, especially with the newer OLED and higher refresh rate laptops. Here I’ll go over the main settings that will get you to save a huge chunk of battery, but have almost no difference in visuals.
Refresh Rate
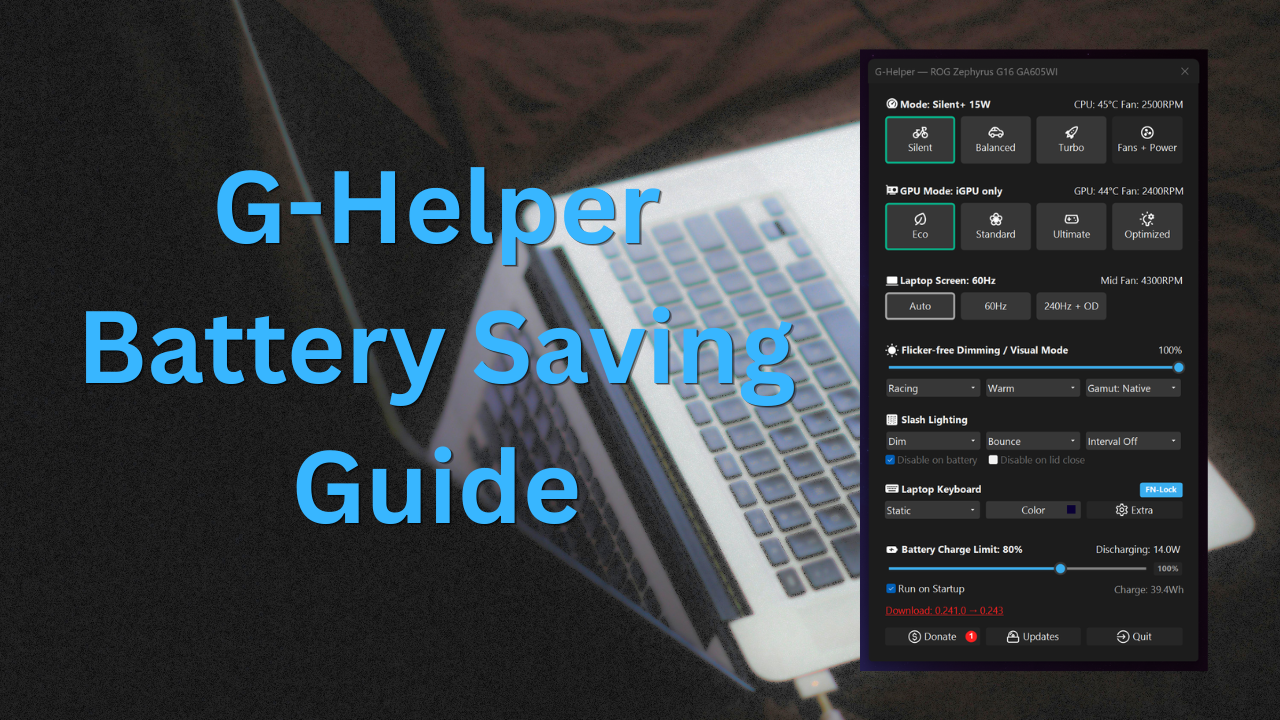
Navigate to your basic G-Helper menu to see the “Laptop Screen” setting similar to the image below-

Now my personal G16 Zephyrus has 240Hz, but yours might be different. Whenever you’re on battery life and don’t need the extra smoothness, make sure to set it to 60Hz. If you tend to only game on battery like me, simply set it to auto, and it will change it without any future effort.
Brightness
Your laptop’s brightness is one of the easiest things to control, but coincidentally has a large effect on your battery life as well. Now this setting is mostly subjective to your preference, but make sure to limit the brightness to the lowest you find comfortable to safe the most battery life while you’re working/browsing on battery.
Fan Curve adjustments
Your laptop’s fans are used to cool your internals, but most don’t know that they drain a meaningful amount of your battery at higher RPM’s. This means if you have them running nonstop it will significantly cut your laptop’s lifespan. Looking at your Fans+Profiles setting again, we can open up a menu for controlling the Fans specific modes.

Here on the left are my personal Fan profiles for the “Silent” mode in G-Helper. As you can see I have my fans only start at around 60 Celsius. Changing your laptop to this setting will both limit your personal wattage drain and make it completely silent at normal temperatures. Personally my laptop’s CPU and GPU stay around 45C when they’re on a light load, so when I’m not gaming it’s completely silent.
GPU settings (iGPU vs dGPU)
This setting applies for any laptop user that has both an iGPU (GPU integrated to the CPU) and a dGPU (Dedicated GPU). The reason this distinction is so important is because of the difference in energy drain. iGPUs tend to be much lighter in their load, having less power but still being enough for any simple tasks on your laptop. This means that having your dGPU, a serious power drain, on during tasks you don’t need it for will completely tank your overall battery life.
Where to switch modes

In your main G-Helper layout you will see your GPU Mode selection. Here is the distinction between each mode.
- Eco Mode – This mode solely makes use of your iGPU, turning your dedicated GPU completely off.
- Standard Mode – This mode is a hybrid mode, using both your iGPU, and dGPU when it’s power is needed. This keeps your dGPU online at intensive moments – lowering your overall battery life
- Ultimate Mode – This gives your graphics completely over to your dGPU, which is great for games or serious creative work, but a complete waste of battery when doing normal tasks.
Which to choose?
Choose Eco mode for whenever you’re off your charging dock, and don’t need the boost. This will significantly extend your battery life over time. Personally it gave me around an extra 2 hours of battery life.
Putting it all together: Battery profile checklist
Here is a summary of each setting we went over. Make sure each is turned on for optimized battery life.
- CPU Boost – Set at “Efficient at Guaranteed”
- Undervolt – Set to -15mV (more if tested)
- Refresh Rate – Set to 60Hz
- Brightness – As low as comfortable
- Fan Curve Adjustments – Fans off until 60 Celsius
- GPU Settings – Set to Eco mode
My real-world result on Zephyrus G16

- Before – 3 Hours of typical lightweight coding/browsing/scrolling
- After – 7+ hours of use when coding/writing/browsing.
- ~13W average discharge
These six settings took my G16 from a 3-hour brick to a usable 7+ hour laptop that supports my workflow and overall schedule. If you took anything from this article, make sure to choose the CPU boost, and GPU settings as they are the biggest energy drains on your laptop.