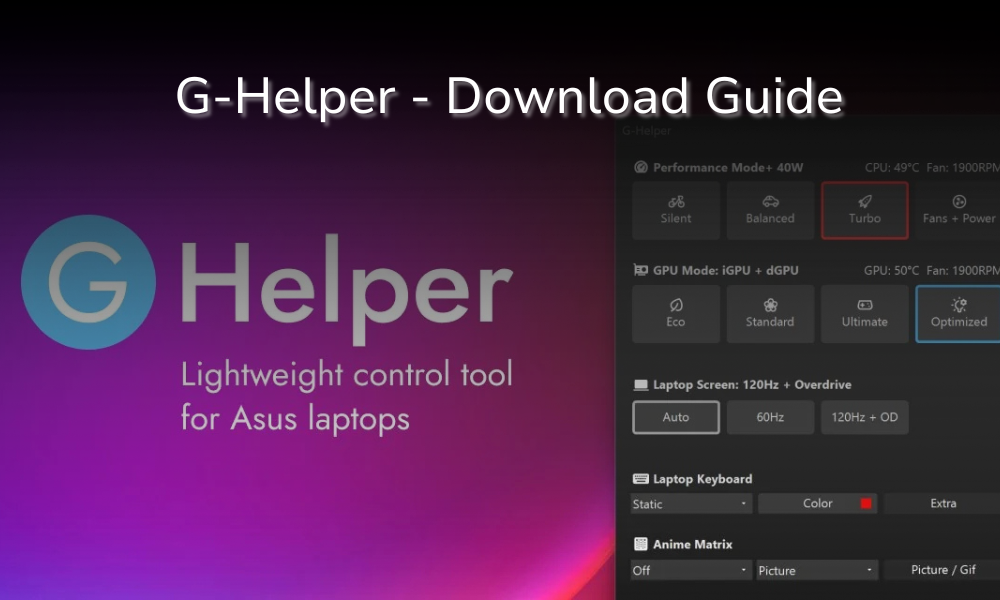
G-Helper Download: How to Install and Set up G-Helper on Your Laptop
Here I’ll take you through the basics of your G-helper download and basic setup for laptop/sytem. G-helper is a simple and effective open-source tool made by a developer named Seerge, allowing for technical control at the click of a button. After making the switch myself, I’ve found it miles better than Armoury Crate (ASUS alternative), and if you’re wondering why it might be worth the switch, please check out my post on G-Helper vs Armoury Crate. I will be writing this from the ASUS perspective, but any software will work fine as long as you remove it before the G-Helper download.
Prerequisites
G-Helpers’ lightweight architecture doesn’t require anything except being on Windows 10/11.
Step 1: Uninstall Armoury Crate and My ASUS
Our first step will be the removal of the current hardware control, as Armoury Crate can inhibit G-Helper’s main functions. One quick caveat: make sure you download any updates you see on your app before you delete them; you might not be up to date. Head over to the ASUS support page, click “see all downloads”, and download the Armoury Crate remover tool. I know this sounds weird, “Download an installer?”, but just deleting it on Windows wouldn’t clean up all of the background processes, possibly leading to some complications. Once it’s downloaded, go through the setup and let the tool run. Once it finishes, make sure to restart your laptop. As for the My ASUS app, simply delete it from your Windows apps as you would for any app.
Step 2: G-Helper Download and Run
Now that you’ve gotten rid of the ASUS software, head over to the G-helper Download page and download G-Helper. This should be pretty straightforward as it’s a single executable. Once you finish installing, G-helper should pop up in your system tray (if not, just drag it in there). This system tray will be where it will live from now on, giving you control over your laptop at a moment’s notice.

Side note – if anything is greyed out or missing, check out the updates button on the bottom!
Step 3: Configuration
Now from here on, you’re free to use it how you want, but here are some quick tips for getting started after your G-Helper download, things that helped me get the most out of my ASUS Zephyrus laptop.
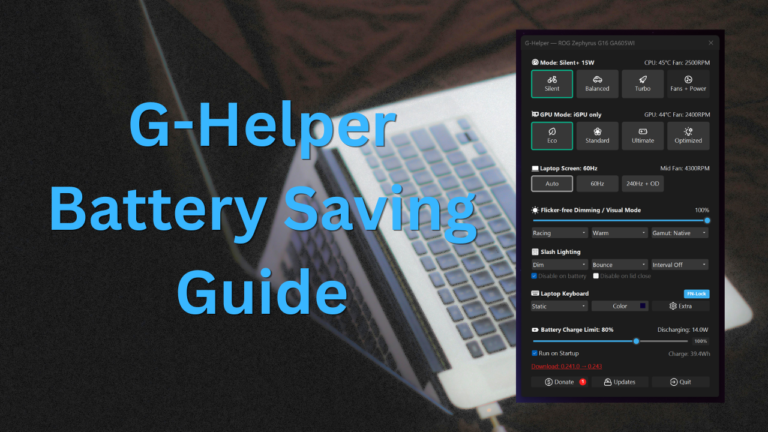
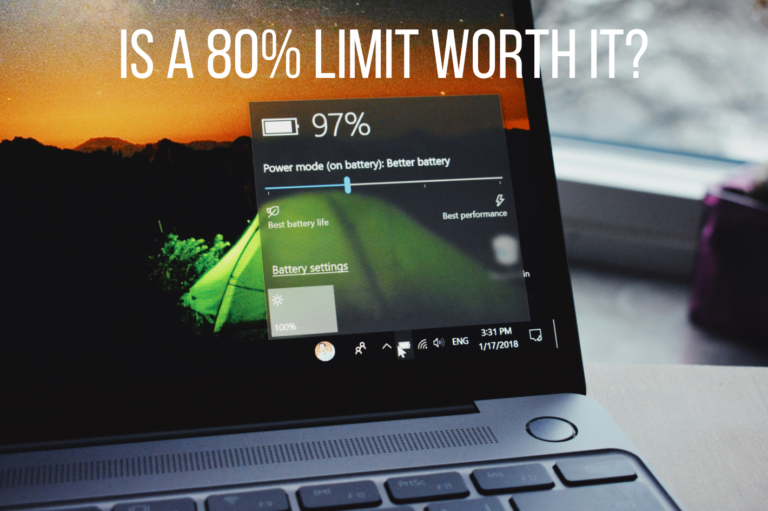
Battery limit

Now I know this sounds counterintuitive, but set your battery to an 80% charge limit. In order to keep your laptop’s battery healthy for as long as possible, try to keep it at 80% whenever possible, especially if it’s just sitting plugged in. This is important because lithium batteries get most worn out from 0-20% and 80-100%, so make sure that’s the first thing you change.
Choose your performance mode
Looking at the top of your G-Helper, you can see 2 different sections here that allow you to change your laptop’s output based on your needs. Here I’ll give a quick overview of the modes so you can choose to your liking.
Modes:
- Silent – Keeps your laptop the coolest and quietest, best for browsing.
- This is where I live most of the time, whether I’m at home in bed or in class trying to stay silent.
- Balanced – Allows for more power, but also drains the battery quicker
- Turbo – Used for high-intensity tasks such as playing video games or editing YouTube videos
- Sidenote – Try to mainly use when the charger is plugged in
GPU Modes
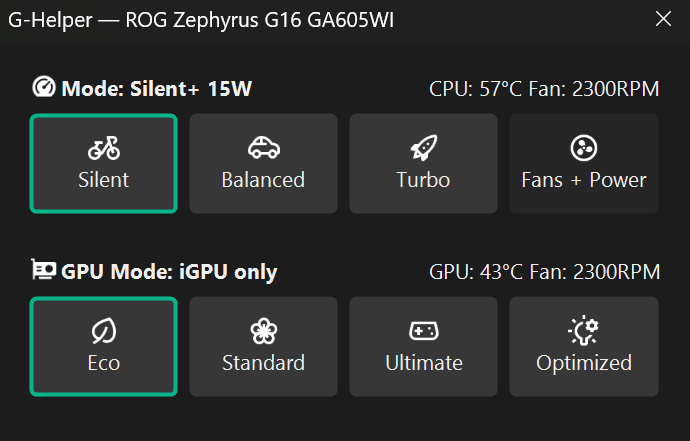
- ECO – Turns off your dedicated graphics card, saving a lot of power
- Standard – Shares the burden between your i-GPU and d-GPU
- i-GPU = your integrated GPU (inside CPU)
- Ultimate – Switches to only your dedicated GPU
- Gets the best graphics performance
- Stay aware that the dedicated GPU is very power-hungry
- I turn this on when I’m gaming for an FPS boost
Final checks

Once you’ve got your basic setup working, make sure to check “Run on Startup”, so G-helper will open whenever you reboot your PC.
This covers the majority of the basic setup for your new G-Helper. Going over those few checks will give you constant control over your laptop’s usage, saving you time and, especially, battery life. Check out my in-depth G-helper guide for more details on getting the most out of your laptop.


One Comment